
The debate continues to rage among martialists and armed citizens who retain the tenuous hold on their firearms rights: AK, or AR? Many of us solve this dilemma by owning one (or more) of each. While the AR-pattern rifles exhibit superior ergonomics and accuracy, the rough-and-ready AK variants on the market offer arguably better reliability, a heavier caliber (7.62 x 39 mm as opposed to 5.56 x 45 mm), and a greater threshold for abuse and misuse. The only problems where most “tactically” minded shooters are concerned revolve around the antiquated and sometimes shoddy furniture on these weapons, as well as the wide variation in quality, fit, and function from AK to AK.
 Author with his MAK90, an AK variant known for
its heavy receiver and high relative quality.
While I was already in possession of a nice MAK90 with a thumbhole sporter stock, I thought it might be a good idea to own one of the now-legal post-ban-expiration pistol-grip AKs (which have American-made parts for legal compliance). Most of the commonly available AKs in my market are WASRs, which initially gave me pause. I tested a recent-production WASR with several magazines from different sources and all fit securely in the magazine well. A contributor to The Martialist’s online forum, Pax Baculum, also bought a WASR some months earlier and seemed very happy with it. He had tested several at his local gun store and bought the one whose magazine fit seemed most reliable. With these facts in mind I concluded that the WASR in question would be suitable for my purposes.
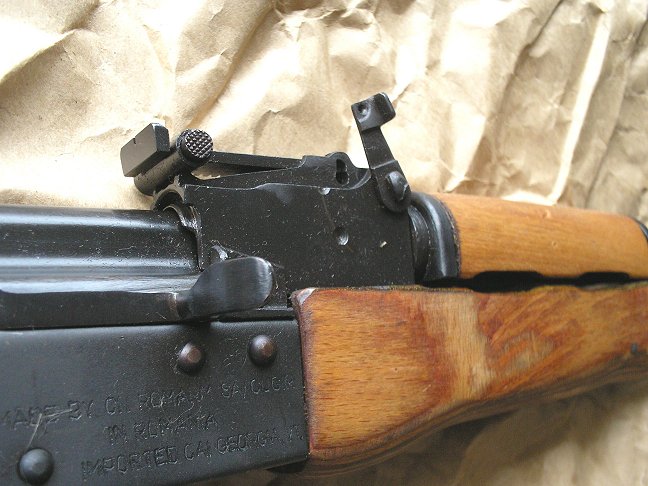
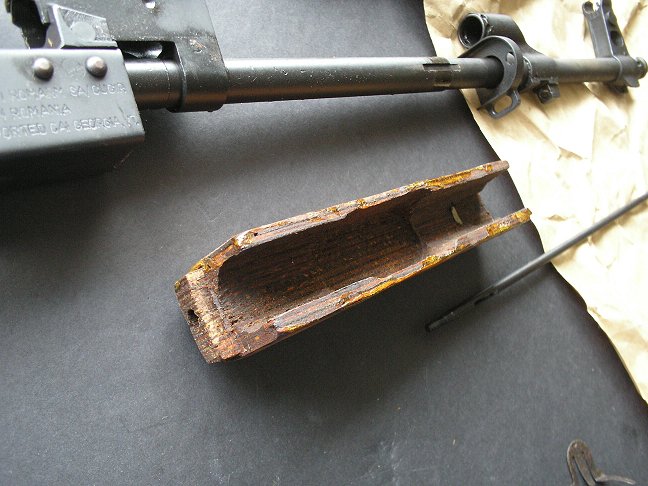
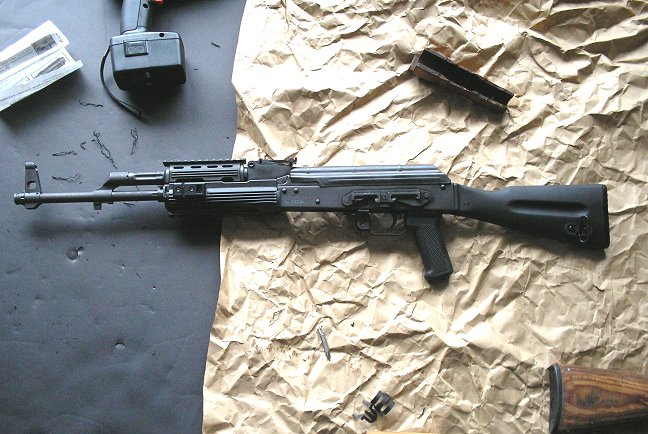
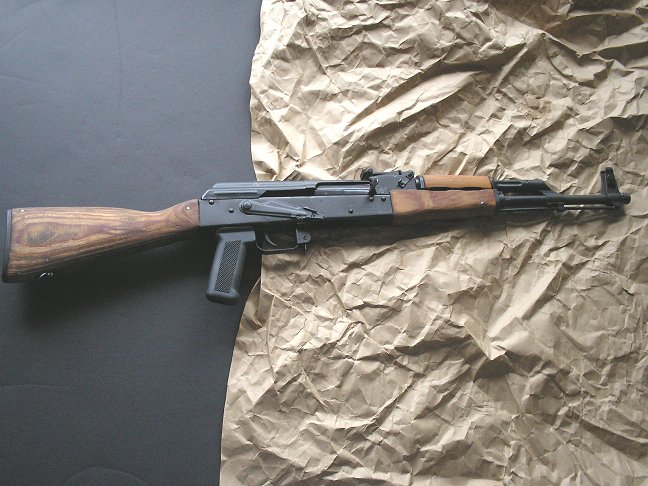 The box-stock WASR-10 was attractive in a classic way, but its wood furniture was of poor quality.
The stock WASR is a very roughly made gun, with factory markings etched in erratic, uneven block lettering with some sort of engraving pen. It is a very lightweight gun as well, owing to the inexpensive stamped receiver. The wood furniture on my new WASR-10 was attractive from a distance but of extremely poor quality. It did not even appear to be finished, at least not properly. It felt almost like “raw” wood. After debating leaving it stock, I decided the WASR needed new handguards and a new buttstock to give it greater “tactical” function and a more contemporary appearance.
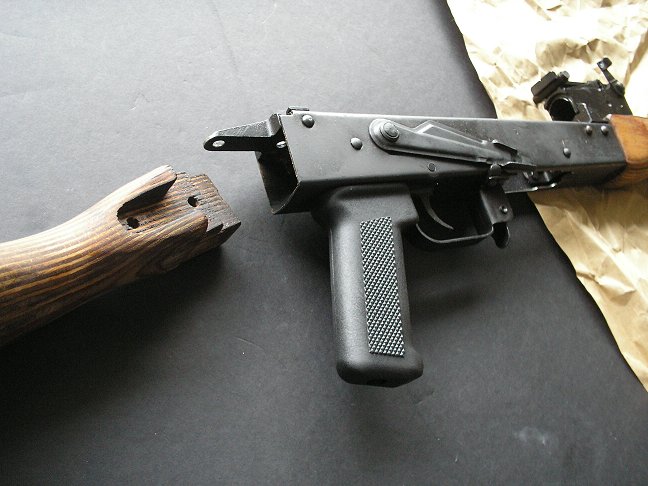
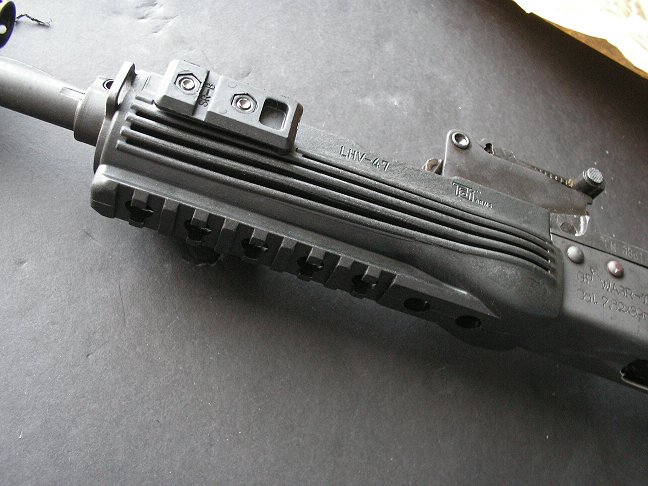
To use the rifle as I have been trained to use an assault rifle, I wanted a vertical foregrip. Had my WASR possessed a wooden foregrip I might very well have left it alone, but it did not. This meant I needed forearm guards with at least a lower rail. I shopped around and settled on the relatively inexpensive and functional First Samco upper and lower forearm guards, with a short vertical foregrip made by the same company. The WASR already had an acceptable plastic pistol grip, so I bought a Warsaw Pact-length buttstock from Ultimak. Some shooters advocate installing a longer buttstock (commonly available for us larger Westerners), but I disagree with this practice. I think one of the primary benefits of the AK is that it is compact, easily maneuverable design.
You may accomplish a similar conversion on your AK-pattern rifle following the instructions and recap that I will offer here. Be advised that there is a great deal of variation in rifles. How the accessories you pick fit the weapon you have will therefore also vary. Do yourself a favor and, if you don’t want your weapon to be “down” for a long period of time, have replacement materials on hand if you screw something up.
PICTORIAL INSTRUCTIONS
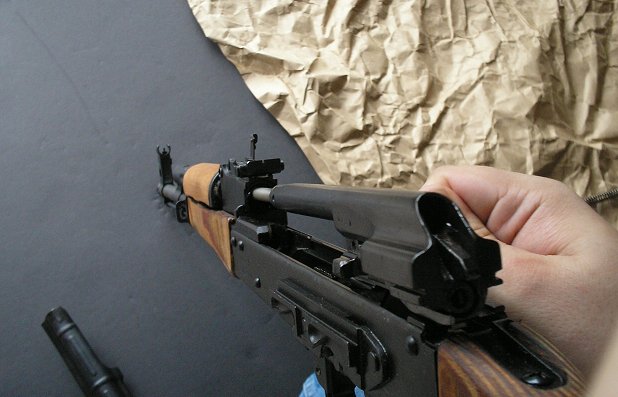
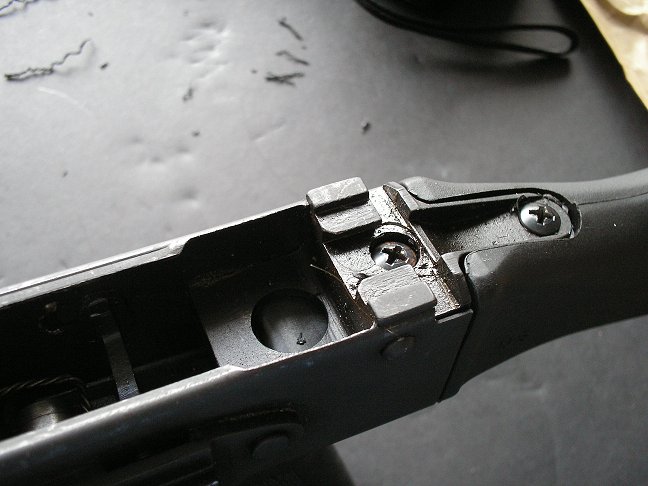
First, remove the cover of the rifle. This is a simple matter of pushing the spring-loaded catch on the back of the cover.
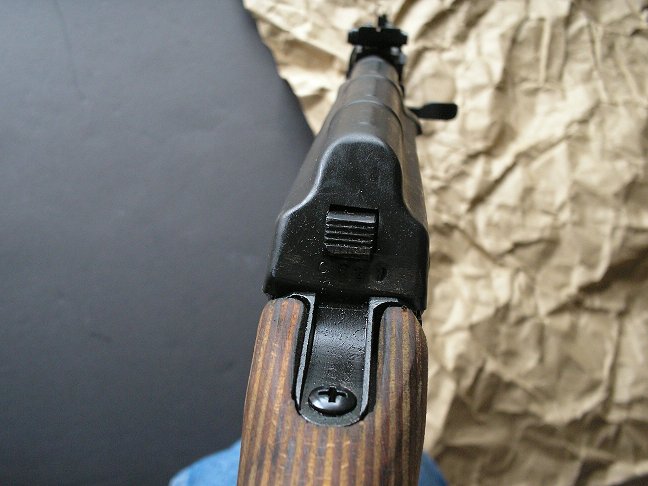
This will reveal the inner works of the rifle.
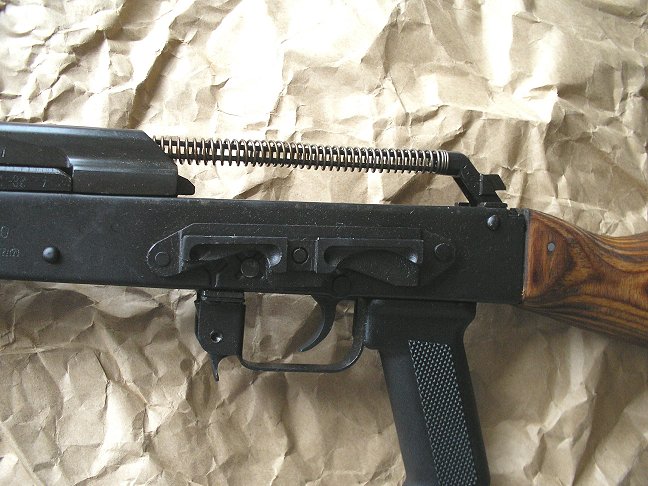
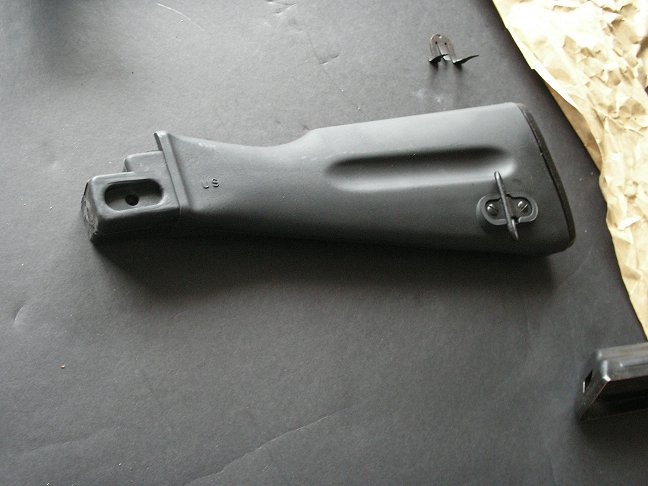
The finished, installed stock will look like this:
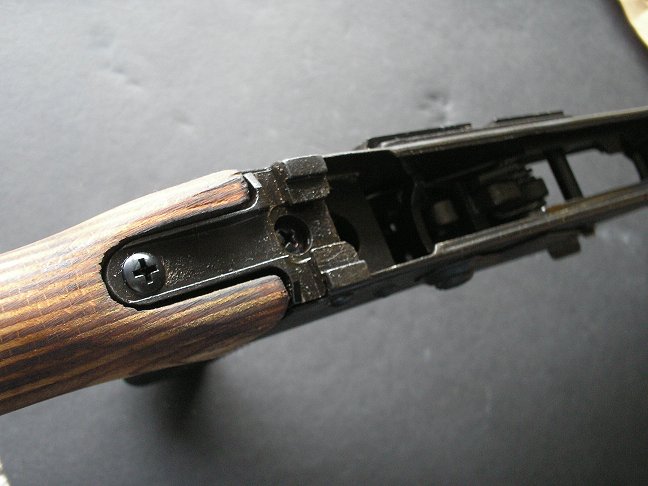
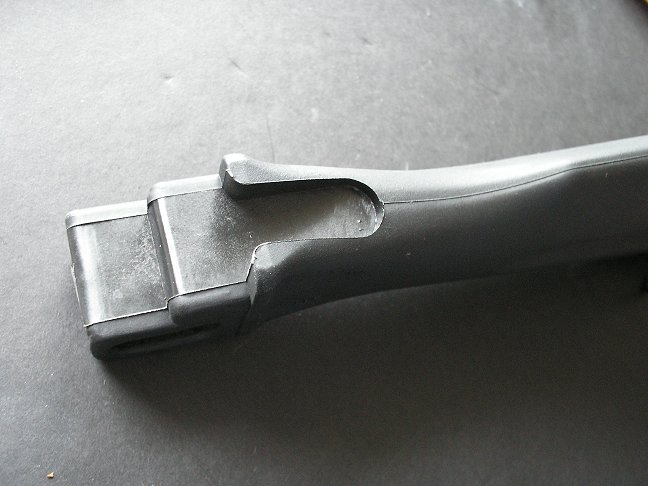
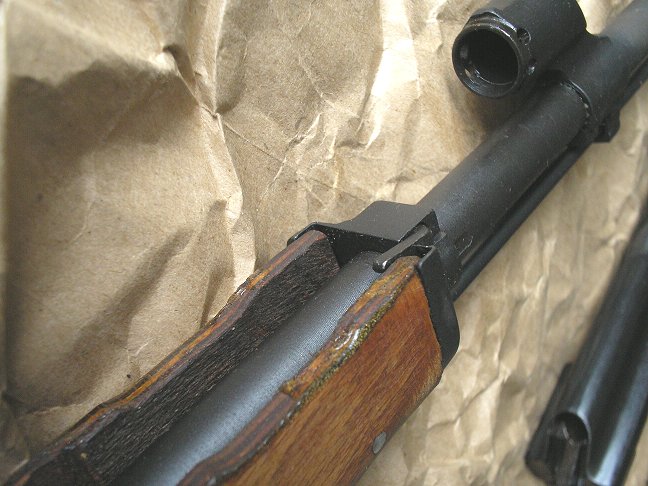
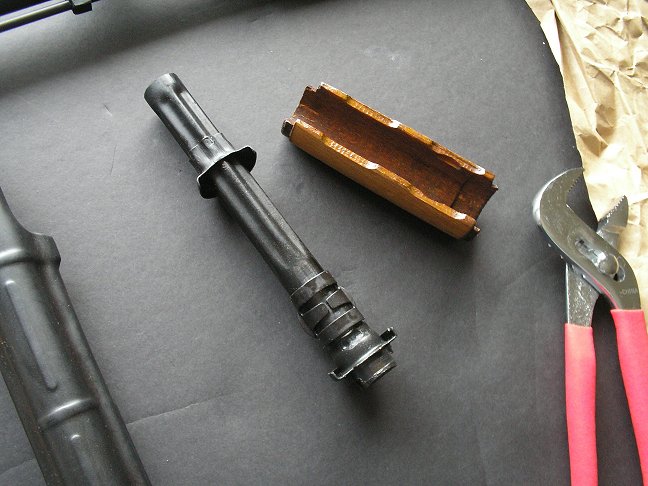
Removing the gas tube assembly reveals the metal catch the holds the forearm guard in place.
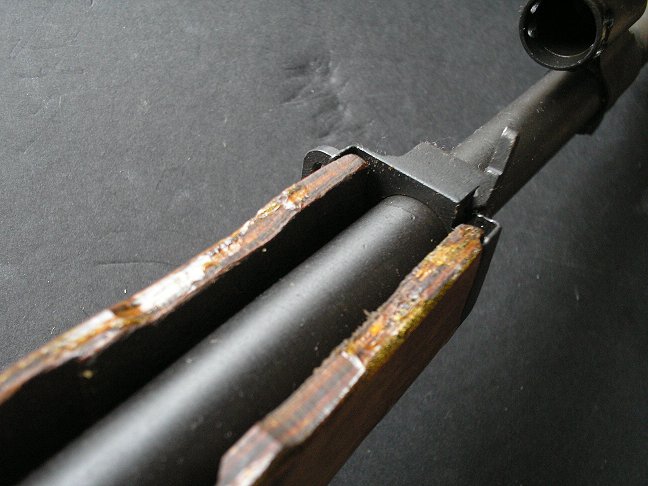
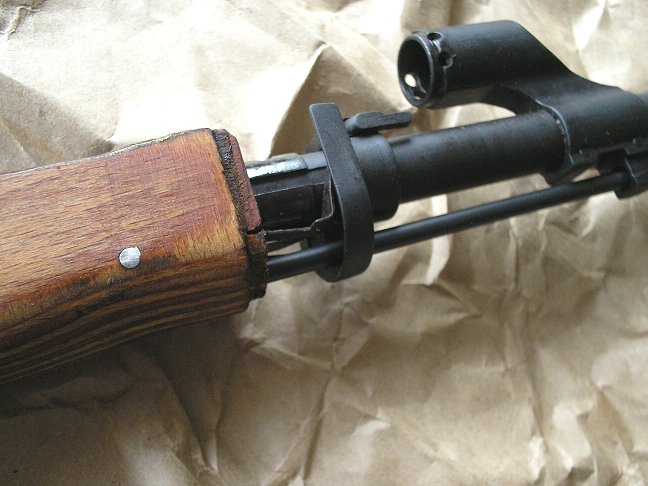
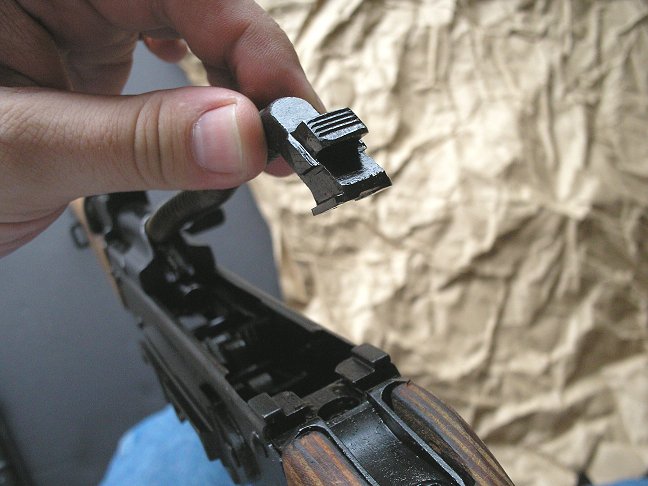
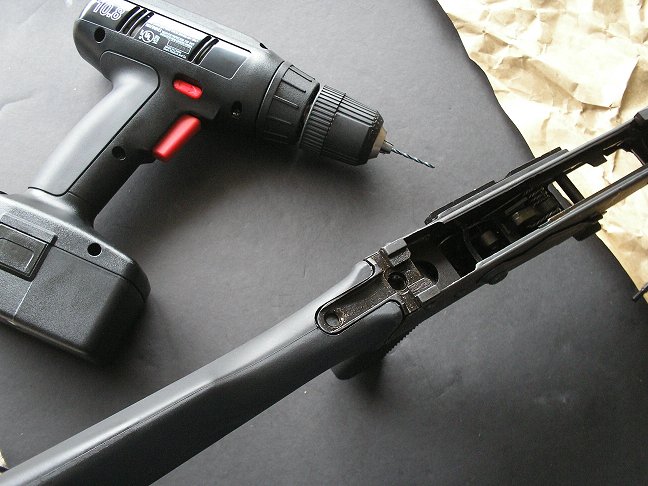
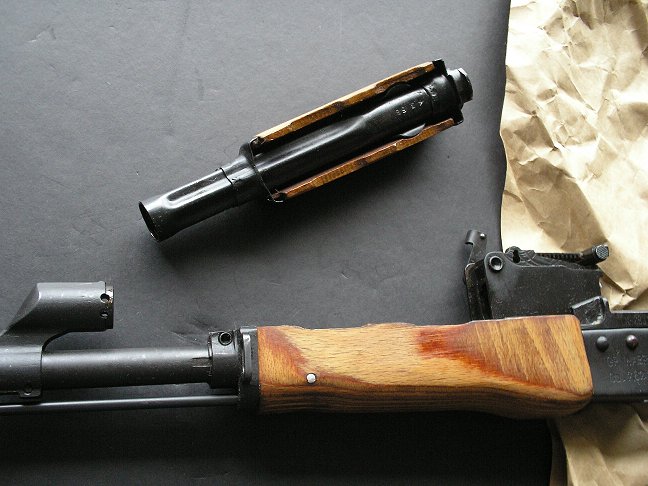
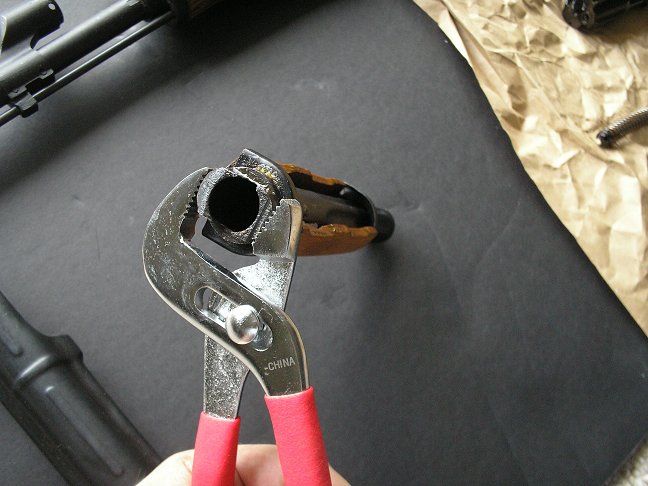
The wooden guard must be turned upside down on the gas tube assembly in order for it to come away from the collar holding it in place. Carefully grasp the gas tube assembly with a wrench and turn the wooden guard upside down, rotating it in your hand. Gloves help a lot. Be careful not to chew up the gas tube assembly with your wrench. (Engage the flat portions of the gas tube with the wrench, rather than the round parts as shown in the figure — this shot is just of me getting ready to do the deed).
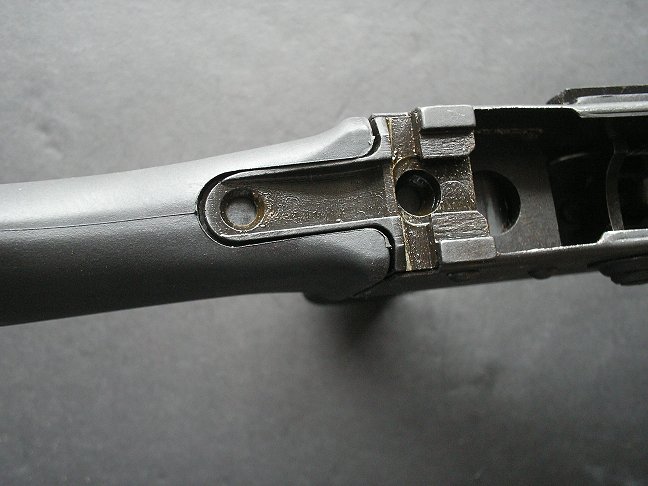
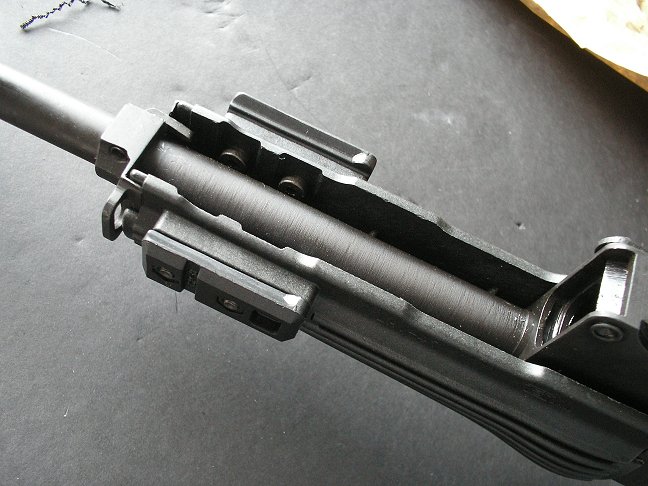
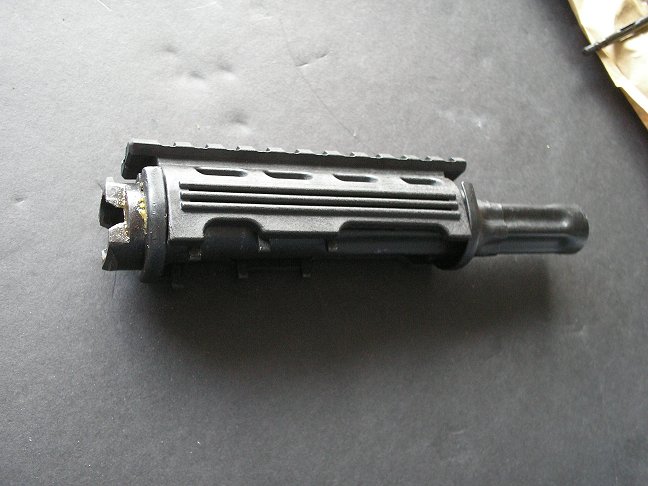
Using essentially the same procedure (though you may be able to use just your hands depending on the fit of the replacement gas tube guard), insert the new gas tube guard upside down and then rotate it into place within the gas tube’s collars. When you do it right, it will look like this:
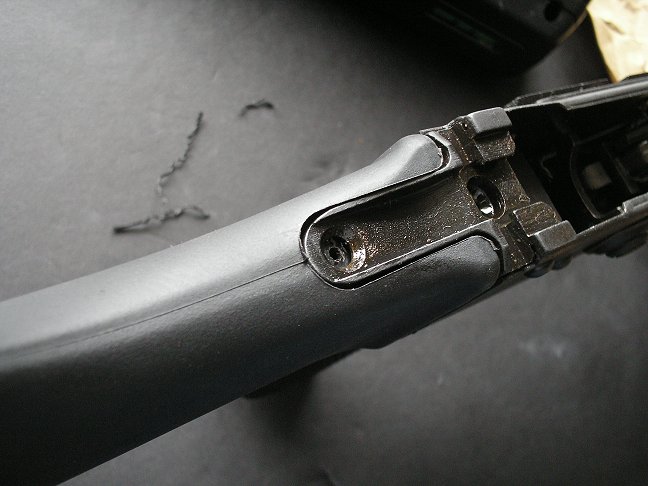
Replace the gas tube assembly. The latch will probably be harder to move into place to retain the gas tube than it was before. This is a function of the fit of the new parts. Push it down and get it latched.
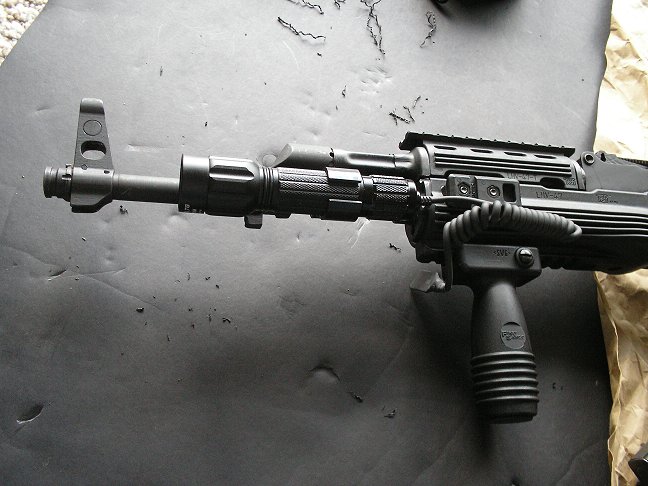
There are a couple of different ways to mount a light to the rifle, to complement the vertical forearm you can install on the accessory rails. You might use an ATI barrel clamp, for example, in conjunction with a Streamlight Scorpion.
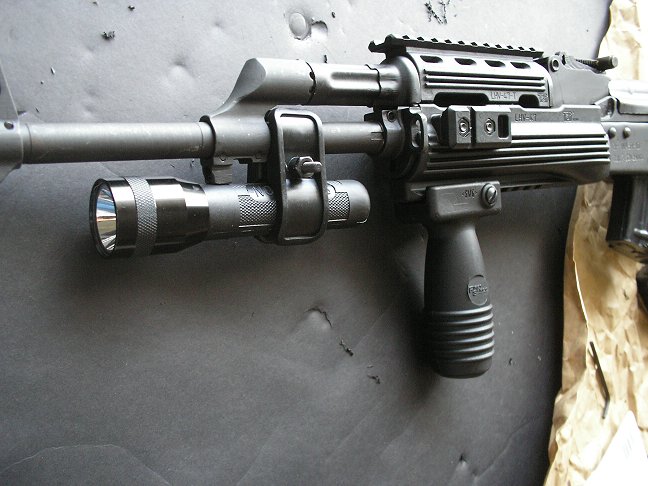
Given that this clamp is made of glass-filled Nylon and mounted directly to the barrel, there is the possibility that extreme heat could affect it. Keep this in mind when selecting your accessories. Under reasonable use, given that the clamp is intended to connect magazine tubes to shotgun barrels, I don’t expect a problem. Should one occur it will be time to rethink the flashlight mounting, possibly offsetting it to one side in order to clear the cleaning rod housing that caused the issue in the first place. It would disappoint me to lose true ambidextrous operation of the light, but you can’t have everything (especially in an AK, whose ergonomics are not exactly great).
One of the options I tested was a Tacstar light with a remote switch. Some people prefer these for ease of operation, but remember that any light with a cord could conceivably be put out of action if the cord becomes damaged.

Have fun and shoot safely.
I think the wood furniture of the AK is part or the main trademark recognized symbol. It is the first aiding it in distinction
As for the greater threshold for abuse and misuse, todaysd AR has been improved nearly 3 fld since its Vietnam hard trial.
I own both and I used to be more in favor of the AK, but gradually I find the AR better.
Due to me living in an ex-soviet state it tactically makes more sense to have an AK variaton. however I find that the original stock is too short for me, as are most modified fixed stocks. does anyone know a good collapsible/folding stock for AK that would be a bit longer than the original?